


G'day from the top of the Great Dividing Range in south-east Queensland where it is a funny old day weather-wise ... Perfect for stitching! 😉 Which I'm really hoping to do tonight after I finish my grown up chores & spend some time chained to the computer editing pattern templates. I think stitching & a good disaster movie will be my self-reward. 😝
And speaking of stitching ... Some of you will have caught up with posts I shared on the Love & Hugs From Australia & Tag Along Teddies Facebook pages yesterday where I shared a few of my fave stitching tips. Well ... It occurred to me that not all of you have crossed over to the "dark side" ( as my Bloggy Buddy Chookyblue refers to FB! 😜) so I thought I'd share my top tips here, too. I'll start with the disclaimer that I in no way consider myself to be an expert ... These are just a few things I've personally found to be helpful along my stitching journey. Those of you who have come to play at stitching days hosted by The Quilters Angel will have heard most of these, but grab a cuppa & read on. 😉
So my first rule of stitching is ... THERE ARE NO RULES!! 😜 There are just a whole lot of ways to do things & some give better results than others. You'll also find that one way of doing things won't be as easy/comfortable/achievable for everyone, so don't let "rules" stop you from getting started. Find a project you love (because you're more likely to finish it! 😜) & get stitching. With stitcheries, there are a few things I've learned that work for me. The first is choose your background fabric carefully. If it's too dark or a busy print, your stitching will get lost. The second (which can save significant swearing later on! 😝) is to cut your background fabric at least an inch bigger than you want it to be when finished - 1/4" for your seam & 3/4" to allow for shrinkage as your stitches pull in a little, trimming fraying & gives more options for using your stitchery.
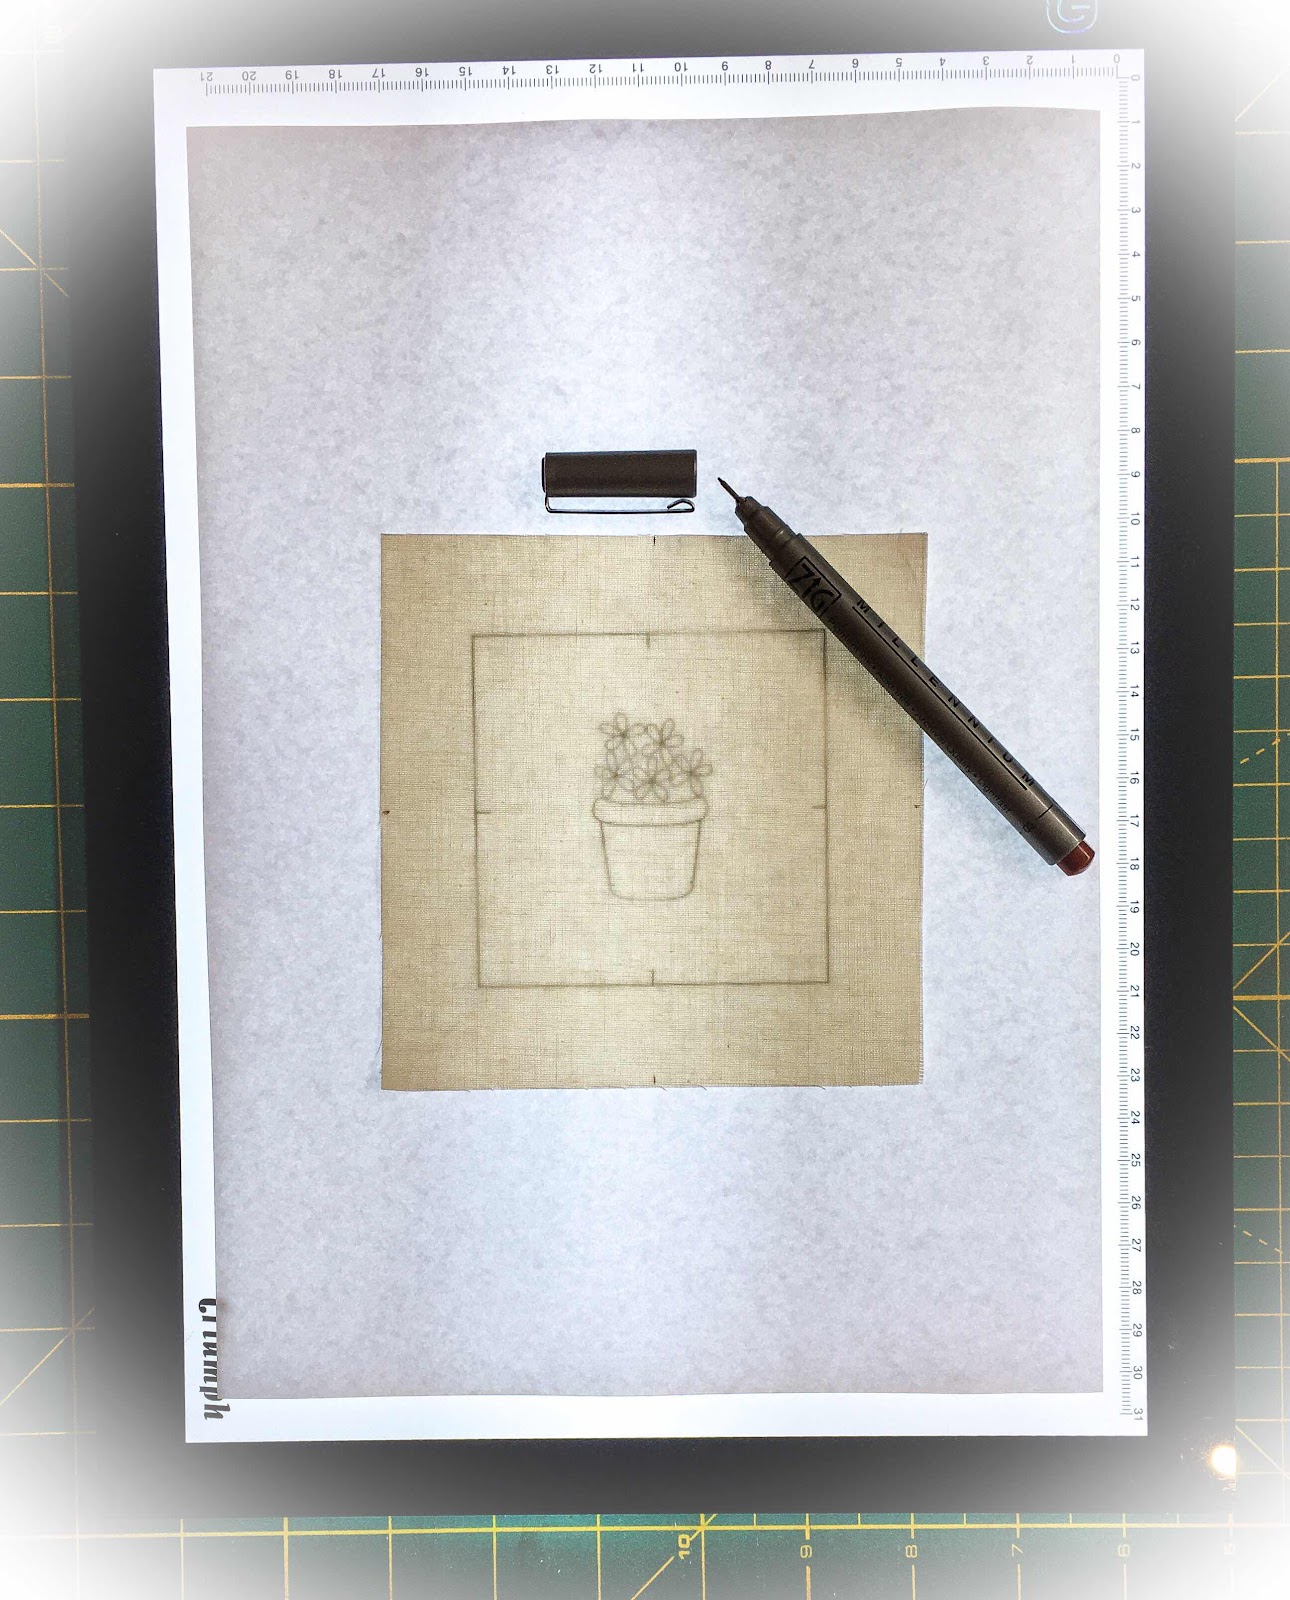
I use a light pad to trace, but taping your design to a window that the sun is shining through works fine ... Your arms just get a little tired. 😜 You can see in the pic above that my fabric is bigger than the finished block size. If your pattern doesn't have the finished size marked, you could do so yourself ... & marking your quarter points as shown helps centre it, too. I use a light tan, fine pigment pen to trace my designs. After disasters with disappearing lines, smudged lines, thick lines & reappearing lines, I find the pigment pens my go-to, but, horses for courses. If you're thinking of colouring your stitchery remember it will need to have both liquid & heat applied to set it, so pens that disappear with either won't be helpful.
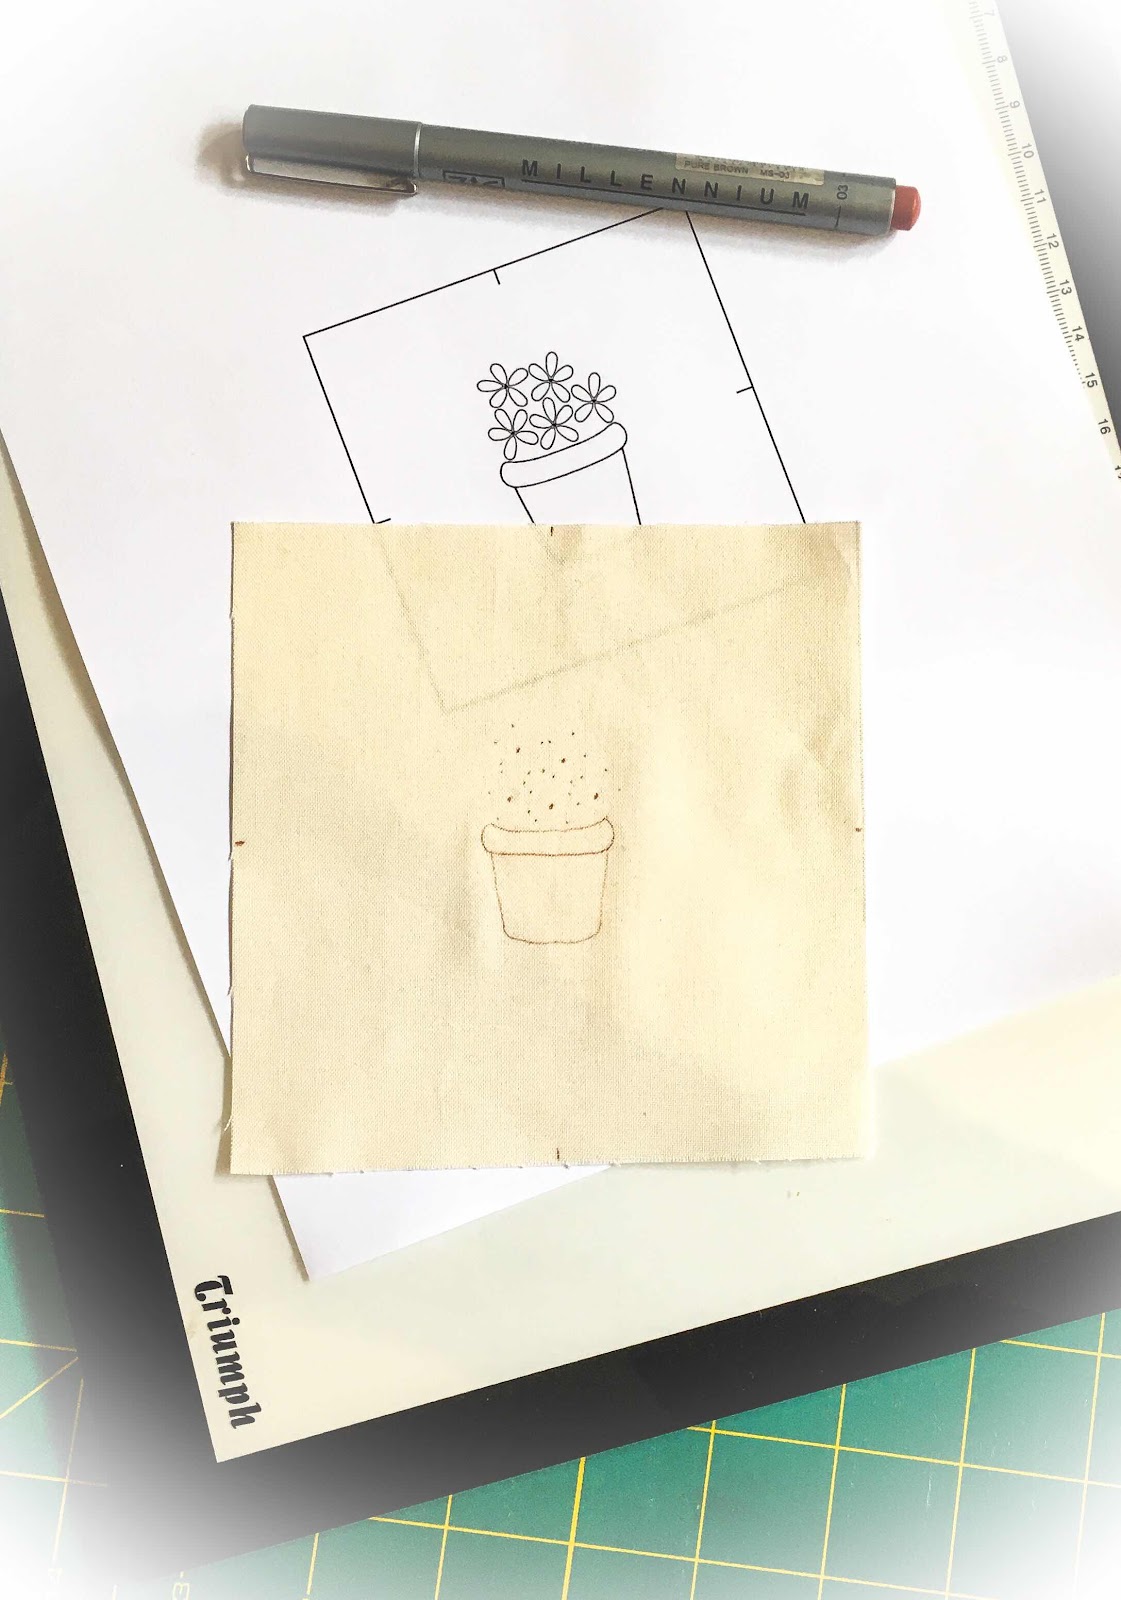
When tracing lazy-daisy stitches, I don't draw the loop ... I mark the centre point of each flower & the outer point of each petal. This way it doesn't matter if your loop is a bit tight or loose, you don't have to cover a drawn line.
The next helpful thing I've learned is to attach fusible stabiliser/interfacing on the back of a stitchery. There are all sorts of stabilisers, so choose one that suits your project.
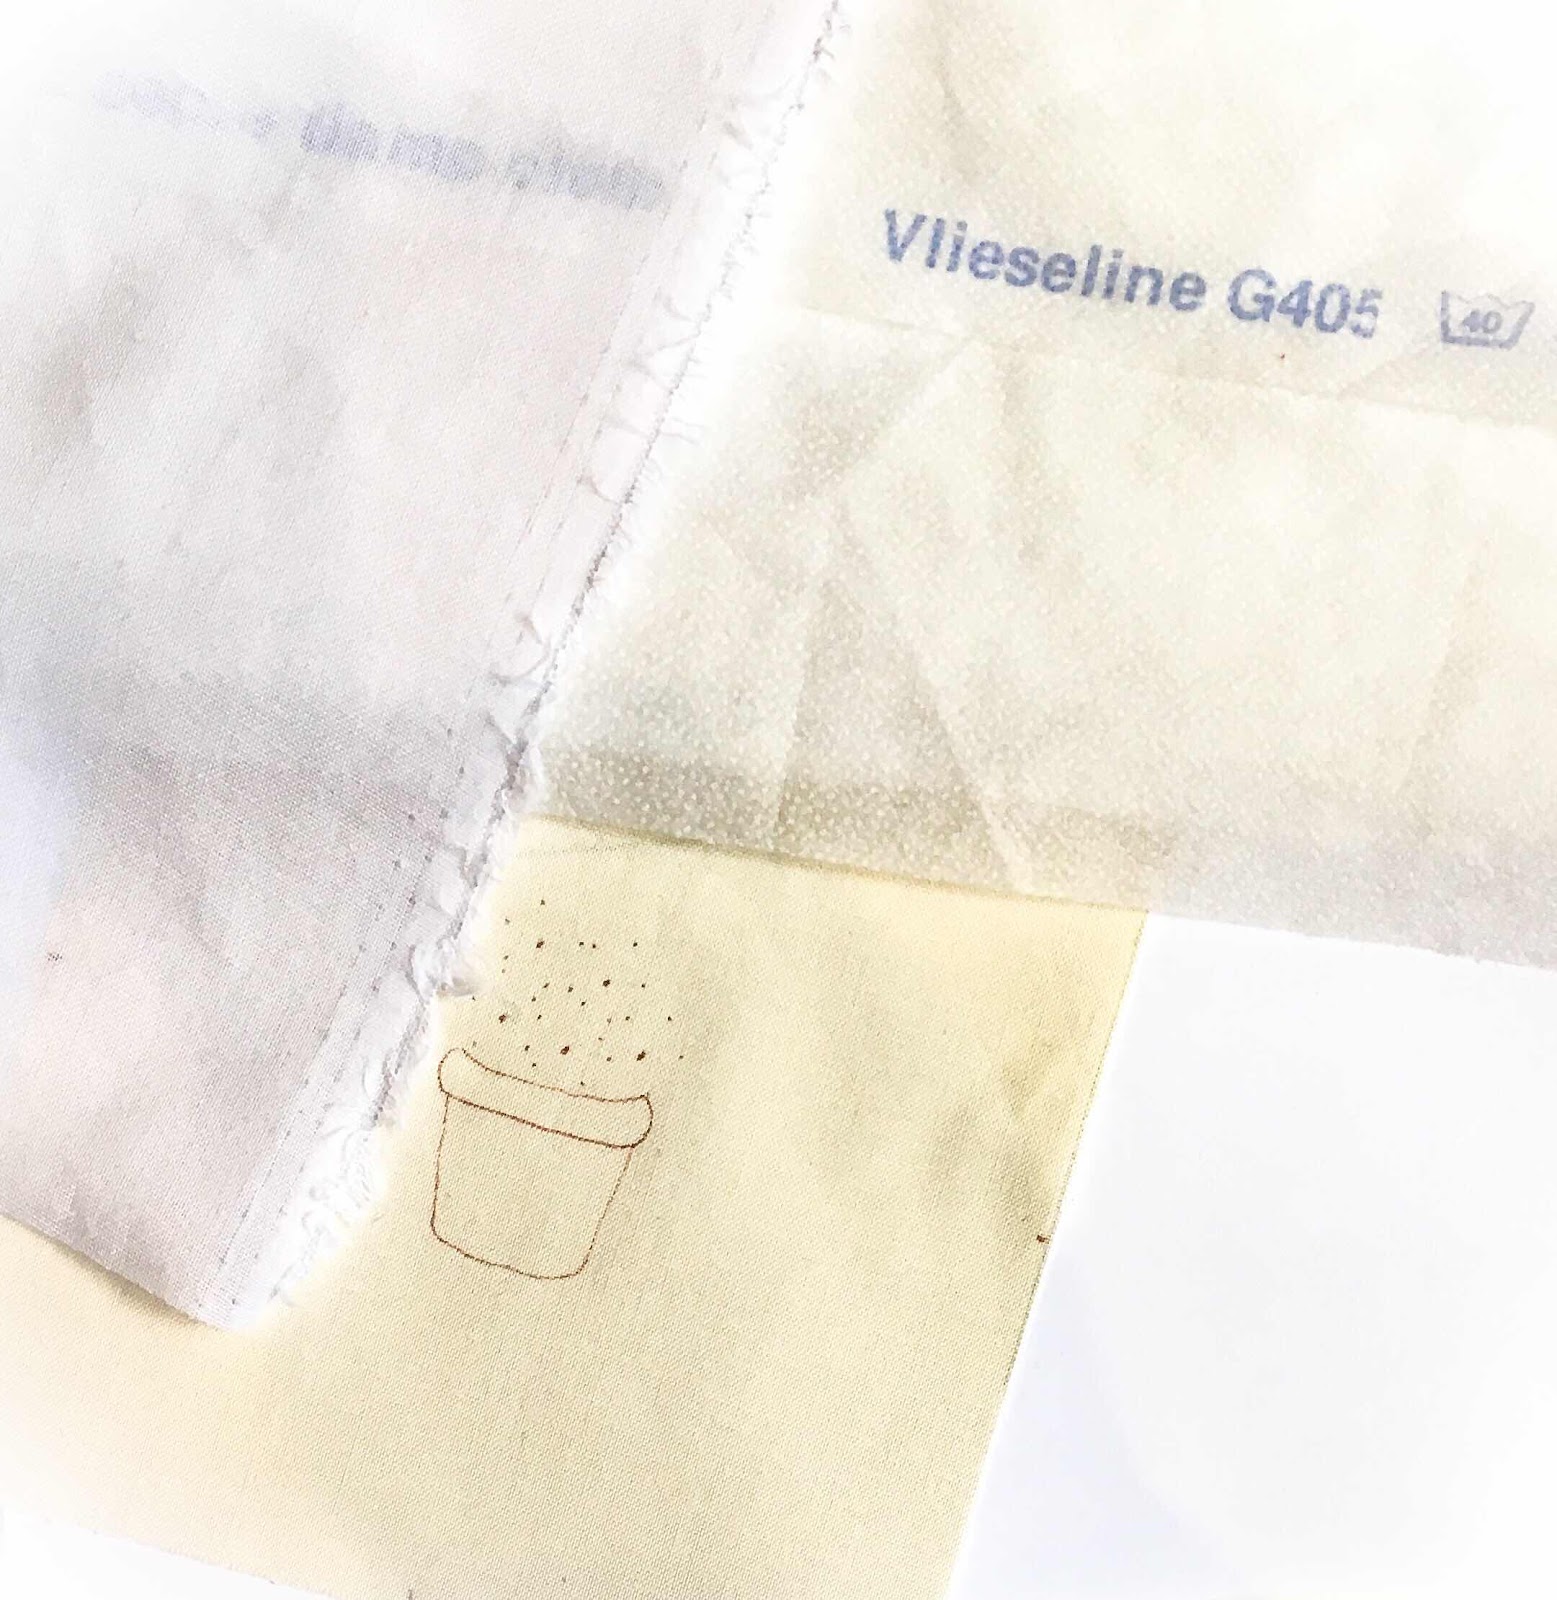
These are the two that I have used most & my fave is the Shape To Create on the left. It's a light muslin type stabiliser & I find it really nice to work with ... I get mine from The Quilters Angel HERE Stabiliser helps minimise stretching & fraying as well as hiding those longer "I'll just hop over there" threads we all end up with from time to time. 😜
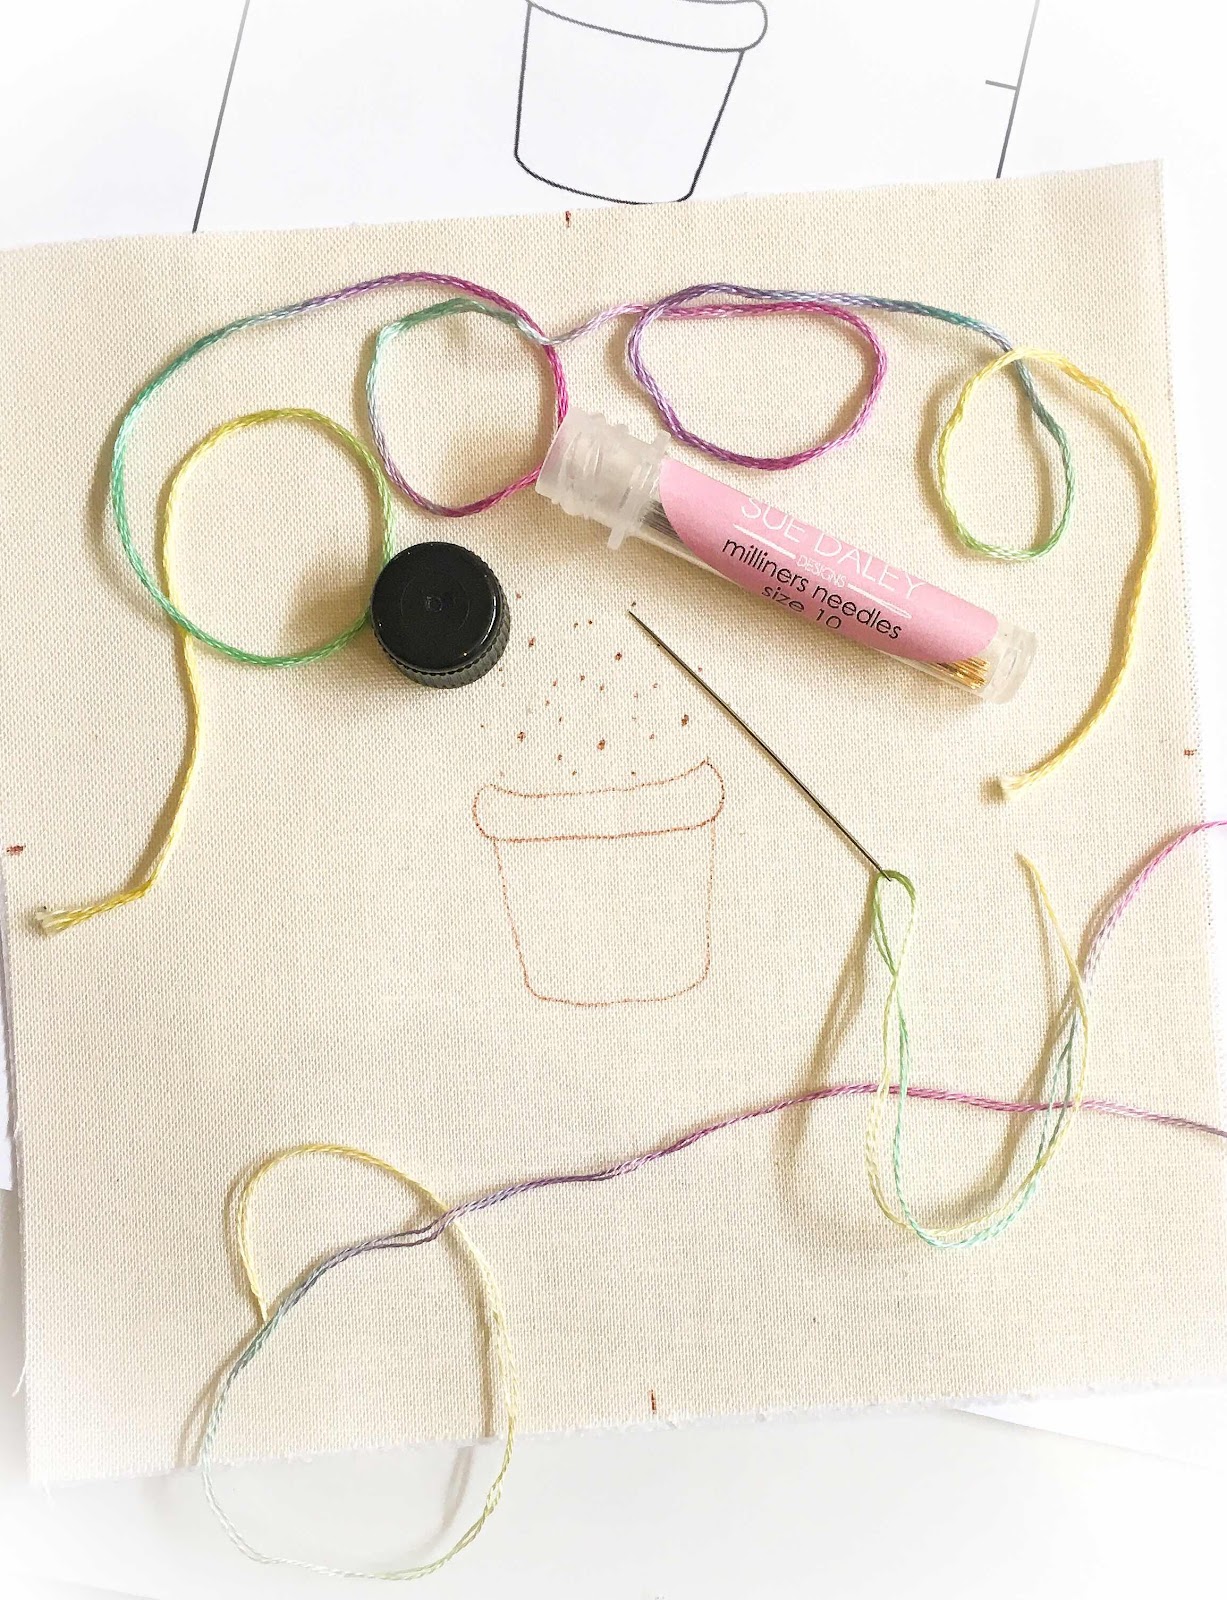
My next tip is about needles. I know we're all on budgets & would rather spend our play money on fabric, but trust me ... Investing in some good quality needles will make stitching more enjoyable. I know some people like (need??! 😜) a bigger eye to thread, but thick shanked needles will make bigger holes in your fabric & can drag your stitching out of shape.
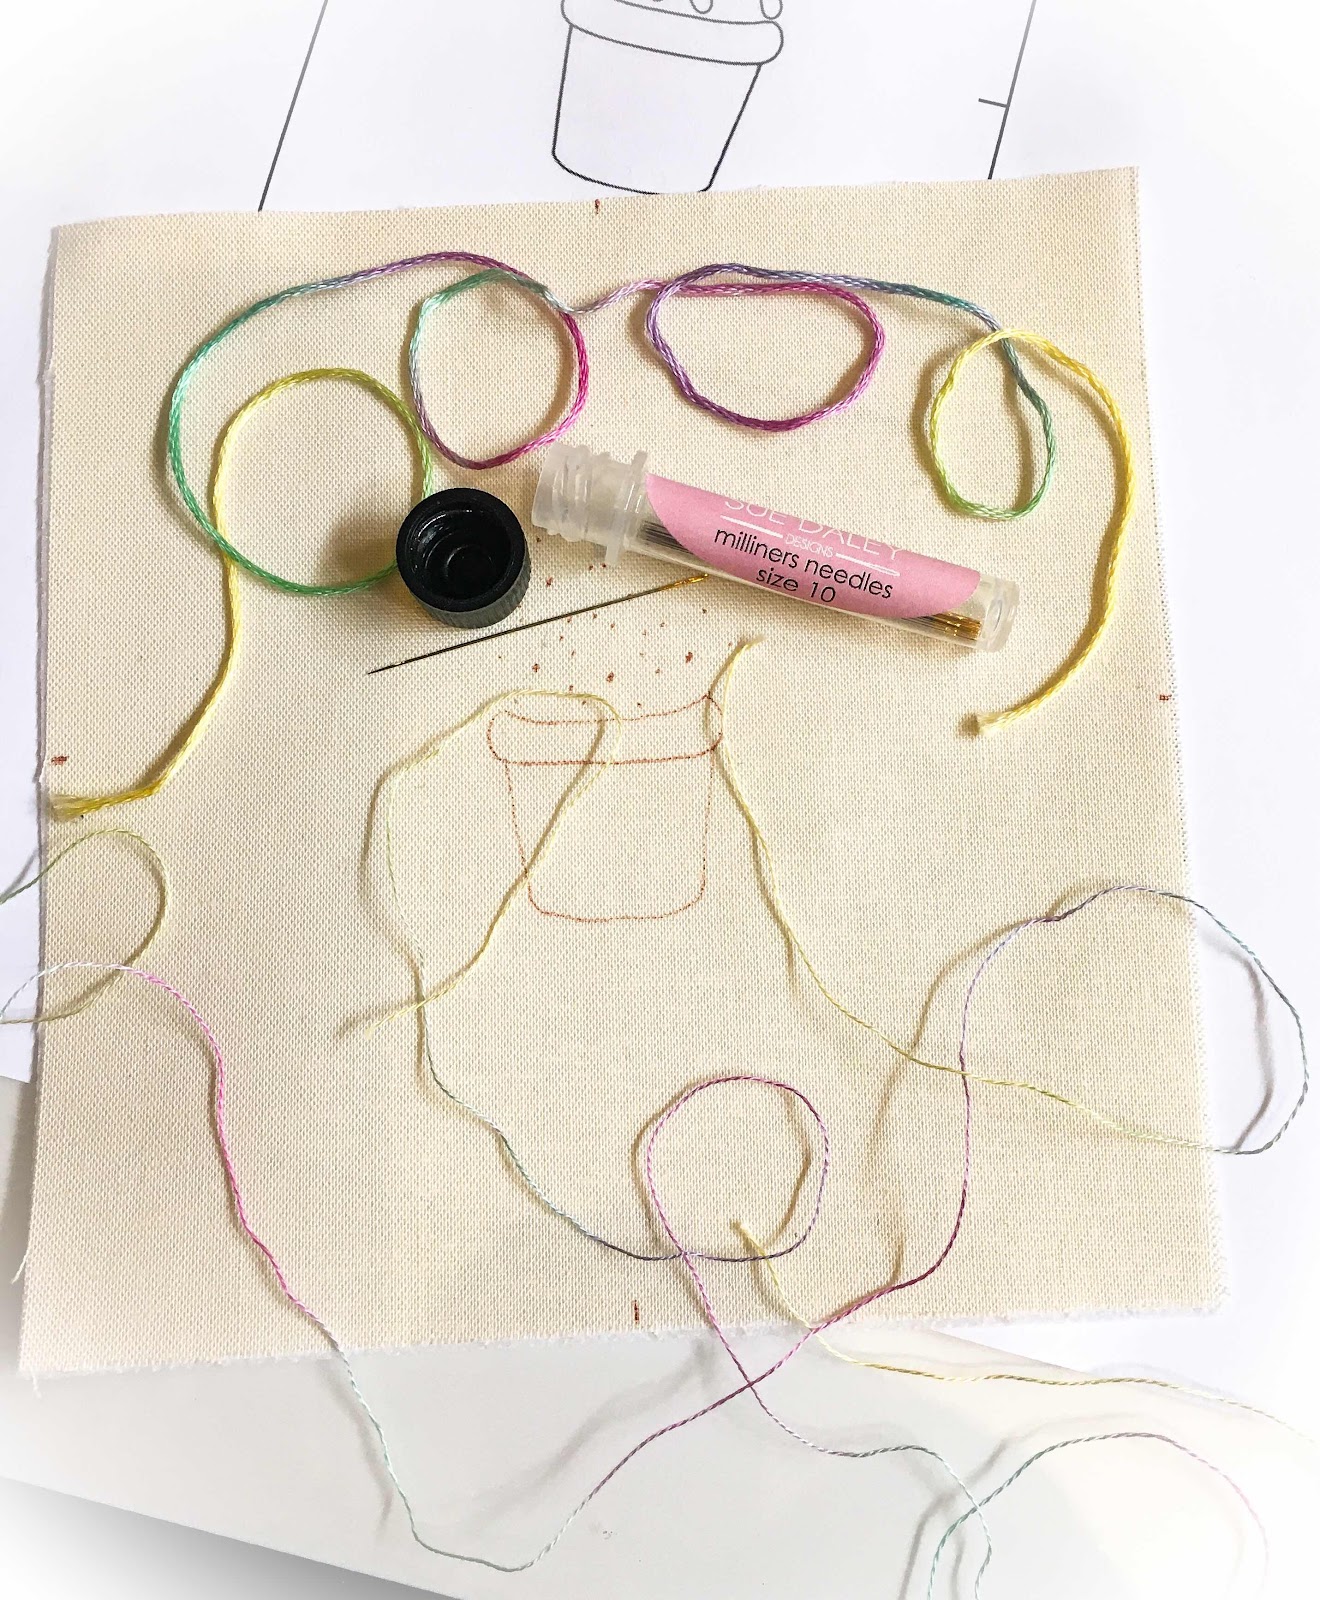
I prefer using a milliner's or straw needle. The eye is the same width as the shank, so when you're stitching knots or bullions, the needle slides through the wrapped thread a bit easier. I usually use a size 9, but that's just a personal preference. (Yes ... The ones in the pic are no. 10's & picked up by accident & you should hear me muttering when trying to thread two strands of thread! 🙄) And speaking of threads ... It took me a while, but finally I've admitted its better to work with a shorter length of thread. 😜 My favourite Cottage Garden Threads come pre-cut into a good length, or the length from your wrist to elbow is a good guide. As you pull your thread through the fabric, it rubs & frays a little & can lead to frustrating thread breaks or your stitching looking a bit 'fluffy'. So, shorter lengths = less fraying. Most stranded embroidery thread has 6 strands twisted together, but most stitching is done with 2 strands, so you need to separate them. If you separate the strands one at a time, they're less likely to tangle & will sit flatter when you stitch.
But the MOST IMPORTANT RULE of stitching is ... HAVE A GO & HAVE FUN!! 😉😁 It's not about who finishes first, or whose work is the neatest, you don't need to compare your work to anyone else's & it won't look exactly like the pattern sample ... And that's more than OK! It's about each of us taking some time to slow down, take a breath & do something creative, so enjoy the process, not just the finished project.
I know many of you are more experienced Stitchers than I am, but I hope something I've shared will help or encourage you to keep stitching ... Or maybe tempt you into picking up needle & thread for the first time in a while 😉 And now, I think I've earned a cup of tea, so I'll sign off for now. OPAMers ... I'll be doing the draw in a day or two ... Promise! 😁 In the meantime, I hope you all have a relaxing weekend. Stay safe, stay well, keep stitching & keep smiling! 😊 Til next time ...
BEAR HUGS!
CHEERS!
KRIS
PS. There's a brand new Tag Along Teddies website up & running too ... In case you need another project ... Or two or three! 😉😂
2 comments:
Great tips. They will be very helpful for the girls starting their stitchery journey.
hhmmm I heard about the darkside.........
always good to see how other do there stitching.....you never know what tip you will pick up........
Post a Comment